

How to Connect a Battery Maintainer to a Can-Am Spyder
By Mighty Ride Moto
A Can-Am Spyder battery maintainer can make storage easier, but the first step is finding the correct connections for your year and model. On some Spyders, accessible charging terminals let you leave the battery tucked behind its bodywork. On others, you open the front storage compartment and uncover the battery itself.
This guide covers GS, RS, RS-S, ST, F3 and RT Spyders, including manual and semi-automatic versions. The charging location follows the model and year—not whether the transmission is SM or SE. Identify the battery actually installed before choosing a charger, especially if a previous owner fitted a lithium replacement.
Choose your connection method
Already have a verified, fused charging lead? Use the quick-connect steps. You do not need to open panels for every charge.
Using clamps? Find your model in the charging locations, then follow the connection steps.
In either case, select a maintainer compatible with the battery actually installed. Connect with the charger unplugged from AC power; disconnect AC before removing leads.
Where are the battery and charging connections on a Spyder?
The charging connection depends on the model and year. Some Spyders have separate charging connections; others are charged at the battery itself. Confirm against the Battery section of your exact-year operator’s guide, since aftermarket leads or a relocated battery can change what you see. Left means the rider’s left while seated.
GS 2008–2009; RS/RS-S 2010–2012; RT 2010–2012
Under the seat. The battery sits farther down behind body panels; use the charging connections under the seat instead. Do not loosen the remote ground bolt to add an eyelet—a loose ground can cause starting and charging faults.
2013 RS/RS-S, ST and RT
Under the left service cover—the black panel beside the front storage compartment. The battery itself is behind a separate access panel inside the compartment.
2014–2016 RS/RS-S and ST
Behind the battery access panel inside the front storage compartment (frunk). Connect at the battery terminals.
2014–2026 RT
Behind the battery access panel inside the front storage compartment (frunk). Connect at the battery terminals; on Limited models, unzip the compartment liner to reach the panel.
2015–2026 F3 family, including S, T and Limited
Behind the removable front storage basket. Connect at the battery terminals; the fuse-box covers are not the battery cover.
Use the + and − markings to identify polarity, not a connection’s position or the color of a nearby cover. Never force a panel or loosen an unidentified bolt.
Choose a battery maintainer, not just any charger
Owners often call this a “trickle charger.” For extended storage, look for an automatic battery maintainer explicitly intended to remain connected to your battery type. An uncontrolled charger that continually supplies current is not the same thing.
Match the charger to the battery’s 12-volt system, chemistry and capacity. Use the appropriate lead-acid/AGM setting for an AGM battery. If the battery has been changed to lithium, use the battery maker’s approved charger and temperature limits; do not assume an AGM setting or a cold garage is suitable.
Charging restores energy; maintaining keeps an already charged battery ready during storage. The 2-amp charging rate specified in several Spyder guides is not a universal minimum for a maintainer. A lower-output automatic unit can suit the job when its manufacturer approves the battery’s chemistry and capacity. For example, the 750 mA Battery Tender Junior lists a 3–30 Ah lead-acid/AGM battery range. Check your battery label against the chosen unit’s limits; do not use this example for a lithium battery. Avoid automotive boost/start settings and do not use repair, equalization or desulfation modes while connected to the Spyder unless the equipment and vehicle instructions expressly permit it.
A USB port is not a battery-charging input. A 12-volt accessory socket is usable only if its wiring, fuse, key-off operation and charger adapter are specifically suitable for charging. A verified charging lead removes that uncertainty.
How to connect a Spyder battery maintainer with clamps
- Park and switch off. Secure the Spyder on a level surface, apply the parking brake, turn the ignition off and remove the key. Work in a dry, ventilated place, away from sparks, flames and fuel vapors. Wear eye protection and remove metal jewelry.
- Leave the charger unplugged from AC power. Inspect the battery and leads. Do not charge a battery that is swollen, cracked, leaking or possibly frozen.
- Open the correct access point. Use the location for your model above. Clear stored items away and support the seat or lid so it cannot fall onto the leads. Identify both connections before attaching either clamp.
- Attach the positive clamp first. Connect red to the designated positive (+) terminal. Keep the clamp and any metal tools clear of grounded metal.
- Attach the negative clamp. The Spyder charging procedures cited below specify the corresponding negative (−) terminal. Use that designated connection and the charger’s vehicle-connected instructions. If they conflict, resolve the difference before proceeding; do not improvise a ground on a painted bracket or loose bolt.
- Route the cables and power the charger. Keep leads clear of sharp edges, exhaust parts and moving components. Do not pinch them under the seat, basket or compartment lid. Position the charger as its instructions require, with ventilation and protection from moisture, then connect AC power and select the correct mode.
- Check the status. Confirm that it recognizes the battery and starts the appropriate charge cycle. Read the charger’s actual indicator legend; light colors are not universal.
- Disconnect before riding. Switch off/unplug AC power first. Remove the negative clamp, then the positive clamp. Restore terminal covers and access panels, and check that the seat and storage lid latch securely.
This is a charging procedure. Jump-starting has different equipment and connection requirements; do not treat these steps as jump-start instructions.
A permanent charging lead makes regular use easier
A properly installed fused quick-connect lead lets you plug in the maintainer without repeatedly removing panels. Its ring terminals attach to approved battery connections, and the capped connector is routed to an accessible, protected location. Installation should preserve the original cable connections, terminal protection and correct fastener torque.
Early Spyder caution: on 2008–2012 machines, do not casually loosen the under-seat remote ground bolt to add an accessory eyelet. Its backing nut can be difficult to reach. An inadequately retightened connection can cause starting and charging trouble. A clamp connection and a permanent ring-terminal installation are different jobs.
Before using an existing lead, trace it to its connections, inspect its inline fuse and confirm its polarity and charger compatibility. Two connectors that physically fit together are not proof of correct wiring. Never bypass the fuse, fit a larger fuse to stop repeated failures, or use a light-duty maintainer lead to jump-start the Spyder.
For routine use: keep the maintainer unplugged from AC, connect its compatible quick connector, then power it. When finished, unplug AC first, separate the quick connector and replace its weather cap. Make “charger disconnected” part of your pre-ride check.
How do you know the maintainer is working?
Check it after the first connection and periodically during storage. Confirm the outlet still has power, the charger is in the correct mode, and the connector, fuse and cable are intact. An outdoor-rated cover does not make an indoor charger or an exposed extension-cord connection weatherproof.
A maintenance or full-charge indication describes what the charger detects. It does not prove the battery can deliver enough current to start the engine. A battery can reach charging voltage and still have poor cranking capacity.
Leave a small card by the key: date connected, charger mode, lead location and the last status check. This is particularly helpful when several Spyders share a garage.
When a maintainer does not solve the problem
If the charger reports no battery or an error, check power, polarity, the accessible connections and the charging-lead fuse with the charger unplugged. Do not repeatedly force a deeply discharged battery to charge or override a protection mode without the battery maker’s procedure.
If the Spyder still clicks, cranks slowly, resets its dash or quickly loses charge after disconnection, it needs more than another night on the maintainer. Possible causes include a worn battery, loose or corroded connections, a key-off electrical draw or a charging-system fault. The 998 and 1330 electrical systems differ, so diagnosis must follow the actual model.
A battery condition/load test, voltage-drop checks and charging-system or parasitic-draw testing address different questions. BUDS or BUDS2, as appropriate for the Spyder, can help a technician review recorded faults and available electrical data. It cannot replace those physical tests or prove the battery is healthy merely because no fault is stored.
See Can-Am Spyder won’t start: what to check and what to tell your mechanic. Note whether the fault happens immediately after charging or only after the Spyder sits.
Worst case: warning signs and when to stop
A reversed connection, damaged lead or unsuitable charging mode can damage wiring or electronics. A damaged battery can leak, overheat or release flammable gas. Stop charging for these warning signs:
- Battery swelling, a cracked case, leakage or suspected freezing.
- Smoke, hissing, a strong unusual odor or a battery becoming unusually hot.
- Melting insulation, discolored connectors, hot leads or a repeatedly blown fuse.
- A reverse-polarity warning or persistent charger fault.
If it is safe, turn off power at the outlet without approaching or disturbing a hot or venting battery. Keep flames and sparks away. Do not pull clamps off a smoking or venting battery or try another charging mode to see whether it clears. Keep people away and get appropriate help; an active fire or immediate danger is an emergency. Have the battery and affected connections inspected before charging or riding again.
Charging is one part of winter storage
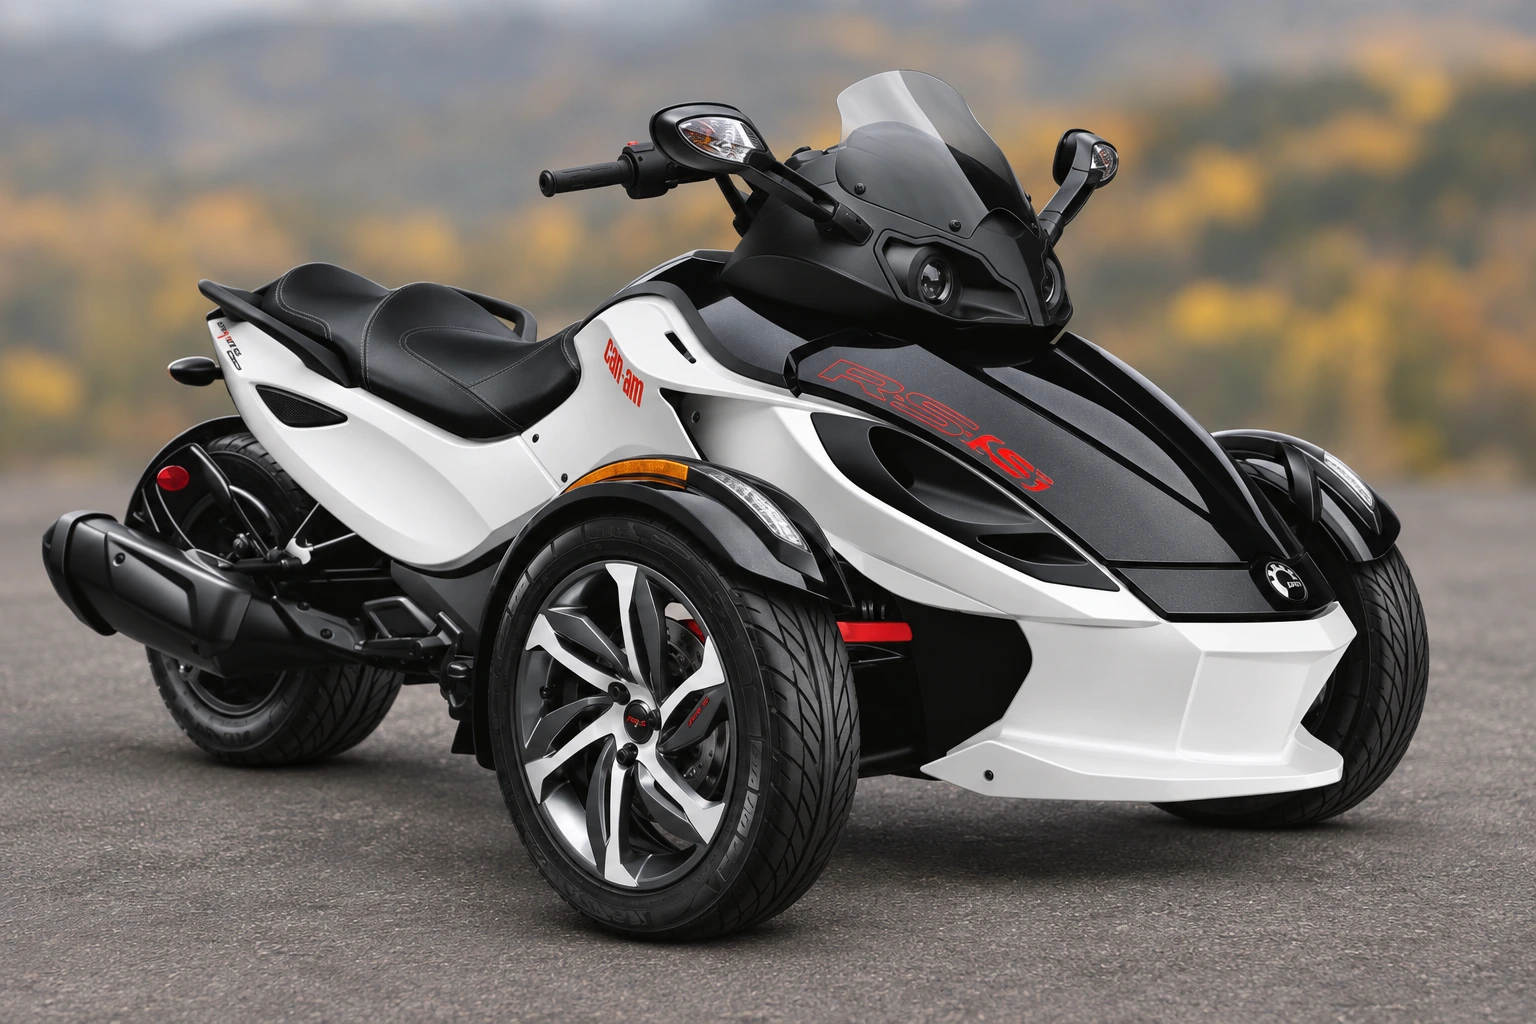
A maintainer supports battery care; it does not protect fuel, tires, coolant or wiring from poor storage conditions. Use our Can-Am Spyder winter-storage guide: good, better and best to choose a setup and build a complete checklist.
Before the first ride, disconnect the charger, secure the lead and complete the model’s pre-ride inspection. A weak first start deserves attention even if the charger showed a full battery.
Need help identifying a connection or investigating a battery that will not stay charged? Mighty Ride Moto provides Spyder service and diagnostics for owners in Broomfield, Denver, Boulder and surrounding Front Range communities. For uncertain charging or starting symptoms, see our Spyder diagnostics service; when replacement is appropriate, see mobile battery replacement.
Sources and model-specific instructions
Use the exact-year operator’s guide and the instructions for the battery and maintainer fitted to your Spyder. Factory locations below do not describe every aftermarket installation.
- 2008 GS guide, Battery, printed pp. 96–97; 2012 RS guide, Battery, pp. 102–103.
- 2010 RT manufacturer guide (hosted copy), Battery, pp. 130–131.
- 2013 manufacturer guides: RS, pp. 113–114; ST, pp. 114–115; RT, pp. 134–135. These specify the additional terminals below the left service cover.
- 2014 RS, pp. 110–111; 2014 ST manufacturer guide (hosted transcription), Battery; 2014 RT, pp. 130–131. These specify battery-panel access.
- 2016 guides: RS/RS-S, ST, F3, and RT: Battery and Body Panels sections.
- 2020 RT, pp. 120–121; 2024 RT manufacturer guide (hosted PDF), pp. 136–137; 2026 RT, pp. 137–138; 2026 F3, pp. 146–148.
- Lamonster Garage: early Spyder ground-bolt access.
- Battery Tender: clamps and ring-terminal connections; Yuasa: battery maintenance and storage.